The following describes the two alternatives for registering to Komiko.
- Individual registration – Each individual user is registered to Komiko
- Group registration – Setting up a service account mailbox e.g. [email protected]. Grant it read access to all target mailboxes and then register the service account mailbox to Komiko.
https://www.getkomiko.com/account/register
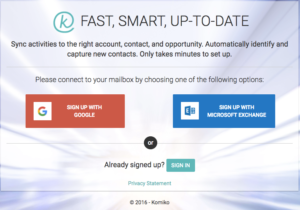
2. Individual user registration – Gmail
Click the Google Account and get the Google pop-up window request to allow access to your mailbox.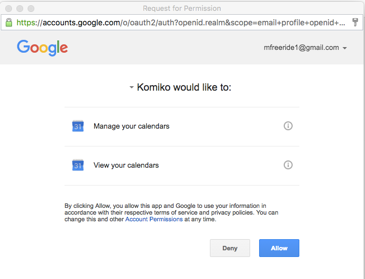
Click <Allow>
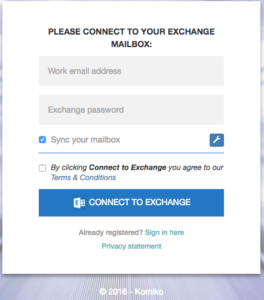
3. Individual user registration – Microsoft Exchange and Office 365
For Office 365 and many of the Microsoft Exchange on premise installations you just need to fill in your work email address, password, accept the terms & conditions and click <Connect to Exchange>.
When Komiko does not discover your Microsoft Exchange server you need to click on the ![]() icon and fill in the server address and user name.
icon and fill in the server address and user name.
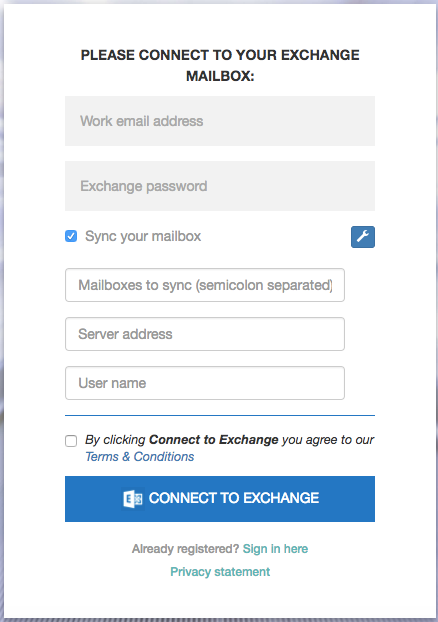
3. Service mailbox account – Microsoft Exchange and Office 365
Fill in the name of service mailbox account e.g. [email protected] to the work email address and its password. List all the mailboxes that you’d like to sync separated by semi colon e.g. [email protected]; [email protected].
Same as in individual user registration, in case of Office 365 and many of the Microsoft Exchange on premise installations there is no need to fill in the server address and user name.
When Microsoft Exchange server is not automatically discovered by Komiko you would need to fill in the server address.
Feel free to send us any question you may have to [email protected]. We’ll be happy to help.
Leave A Comment?