The following describes the steps required to connect Komiko to Dynamics CRM:
1. Connect your Mailbox
Navigate to Komiko’s registration page https://www.getkomiko.com/account/register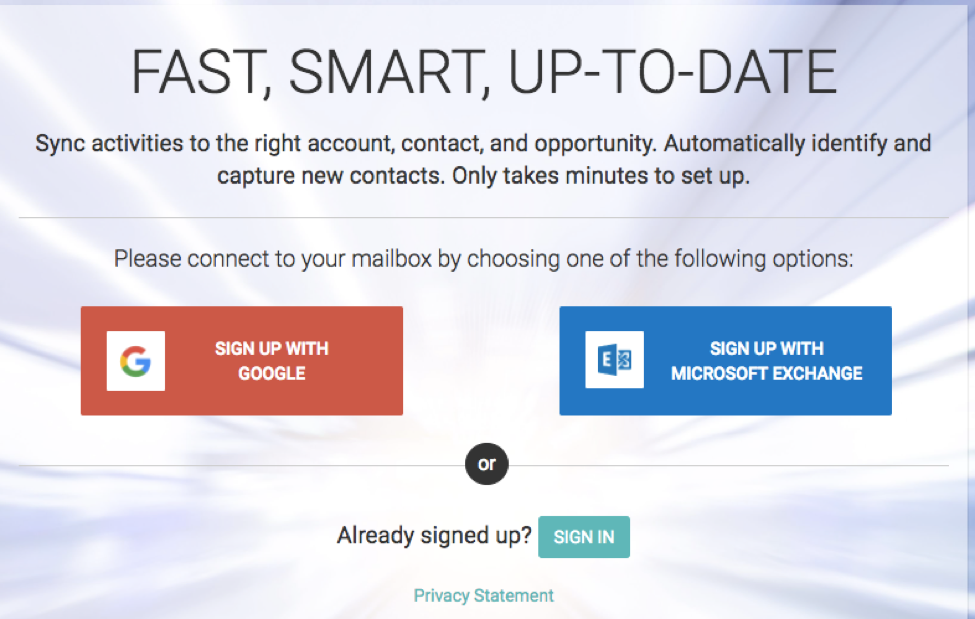
For Gmail
Click the Google Account and get the Google pop-up window request to allow access to your mailbox.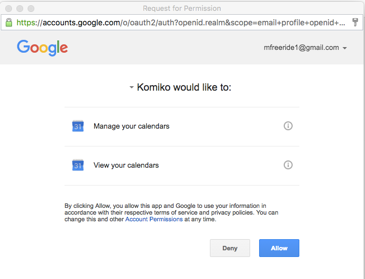
Click <Allow>
For Microsoft Exchange
Fill in your work email address and password.
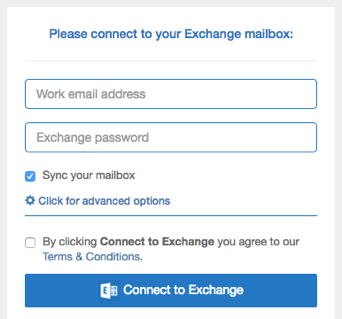
Click <Connect to Exchange>
2. Install Komiko for Dynamics
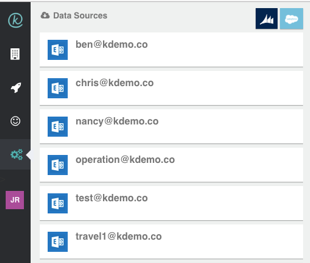
Navigate to Komiko’s https://www.getkomiko.com
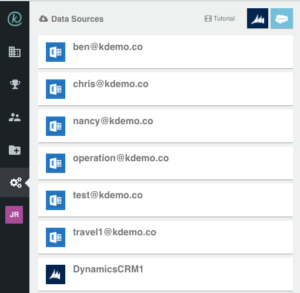
2.2 Click on the Dynamics icon (top right corner) to add a Dynamics CRM as a data source.
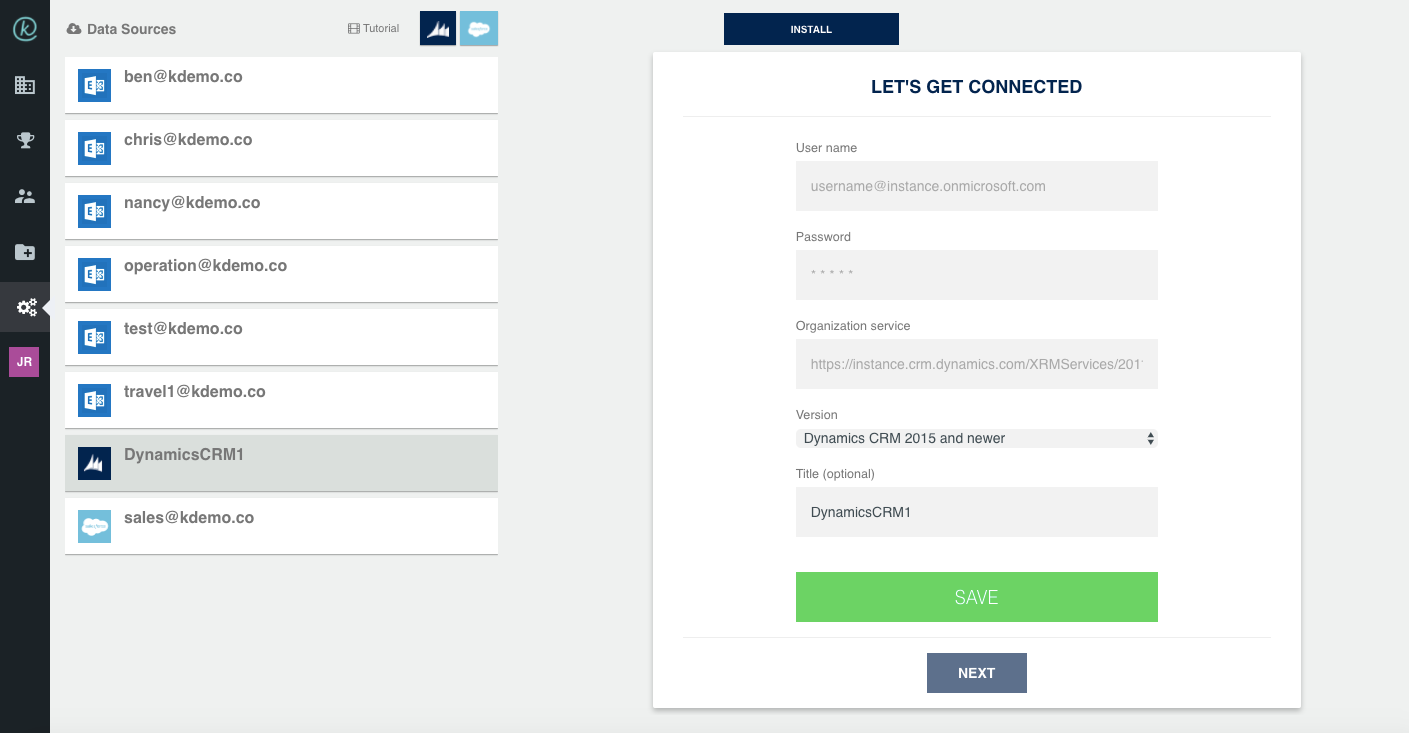
2.3 Click on the added <data source> e.g. DynamicsCRM1.
2.4 Fill in the forms fields and click <Save>.
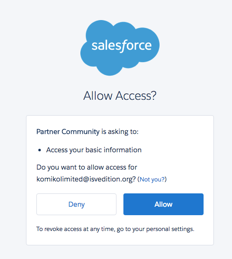
2.5 Now you’ll be asked to allow Komiko’s access to Salesforce.
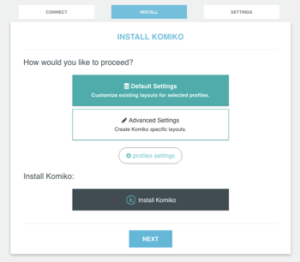
2.6 Choose either the <Default settings> or <Advanced settings>.
<Default settings> – extends existing layouts including accounts, contacts, opportunities and leads.
<Advanced settings> – for Salesforce admins – creates Komiko’s specific layouts that allow reuse and assign to certain profiles.
<Profile settings> – for Salesforce admins – Assign Komiko’s specific layouts to selected profiles.
Click <Install Komiko> – Komiko’s fields, custom objects and views are deployed. Data is not yet pushed to Salesforce. It is easy to <uninstall>, if needed.
3. Set the synchronization rules
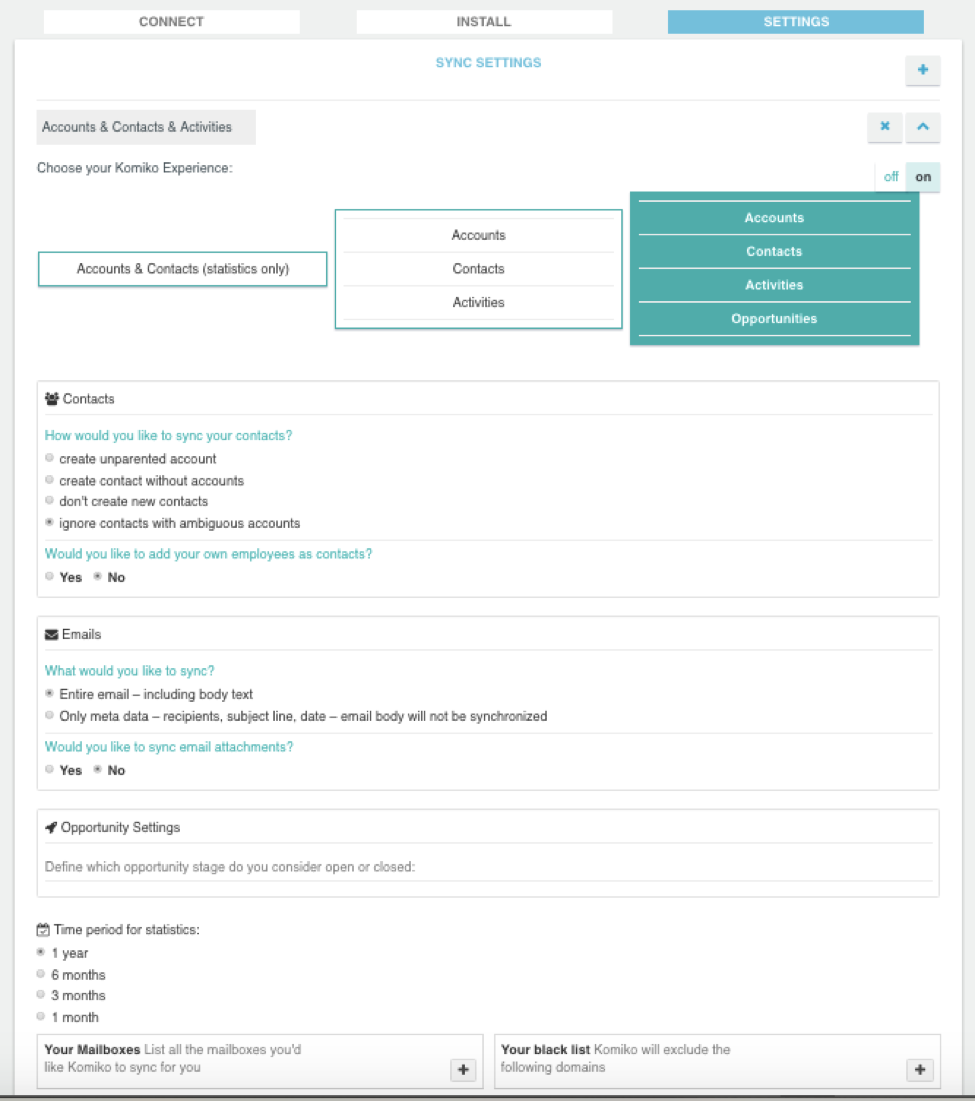
There are three main synchronization options that you need to select from.
3.1 Accounts & Contacts (statistics only) – No Activities
Komiko will enrich the accounts and contacts with information like: Last inbound and outbound email date and sender, Last and next meeting and organizer, K-score and trend for last 30, 90 and 365 days, best connect and best connection, and more. In this option Komiko will not create activities based on emails and meetings. The next option to the right [Accounts, Contacts, Activities] will do it.

In all options you need to define the historical time period that you’d like Komiko to scan in order to determine the enrichment information. So if Komiko only scans 3 months of historical data you’ll not get information about emails and meeting that tool place before that e.g. 4 months ago.
Please add the list of mailboxes that are used to update Salesforce.
You can also add a list of domains that you’d like Komiko to ignore (skip) and not update Salesforce.
Now click <Save & Done>.
3.2 Accounts, Contacts and Activities
It’s similar as the previous one (3.1 Accounts & Contacts), but in this case activities (emails, meetings) will also be updated.
You need to answer few more questions regarding the way that you’d like your activities to be updated.
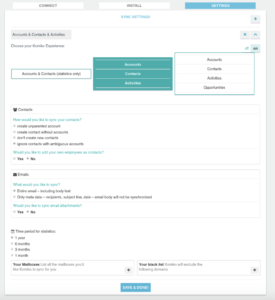
3.3 Accounts, Contacts, Activities and Opportunities
It’s similar as the previous one (3.2 Accounts, Contacts and Activities), but in this case Opportunities will also be updated.
You need to define which opportunity stages are considered <open> and which are <closed>. Komiko is using these definitions to determine the right opportunity that needs to keep new activities and contacts.
Congratulations! The meta data have been deployed. Any new email received by the list of monitored mailboxes will be evaluated for synchronization relevancy. When relevant, it’ll update Salesforce immediately.
For support please email [email protected] and we’ll get back to immediately.
Leave A Comment?