ZoomInfo InboxAI is using Google’s OAuth 2.0 for Server to Server Applications and OAuth 2.0 to Access Google APIs to access mailbox data. Here are the steps:
1. Log in to the admin console at https://admin.google.com

2. Click “Security” and Scroll to the bottom of the page until you find “API controls”
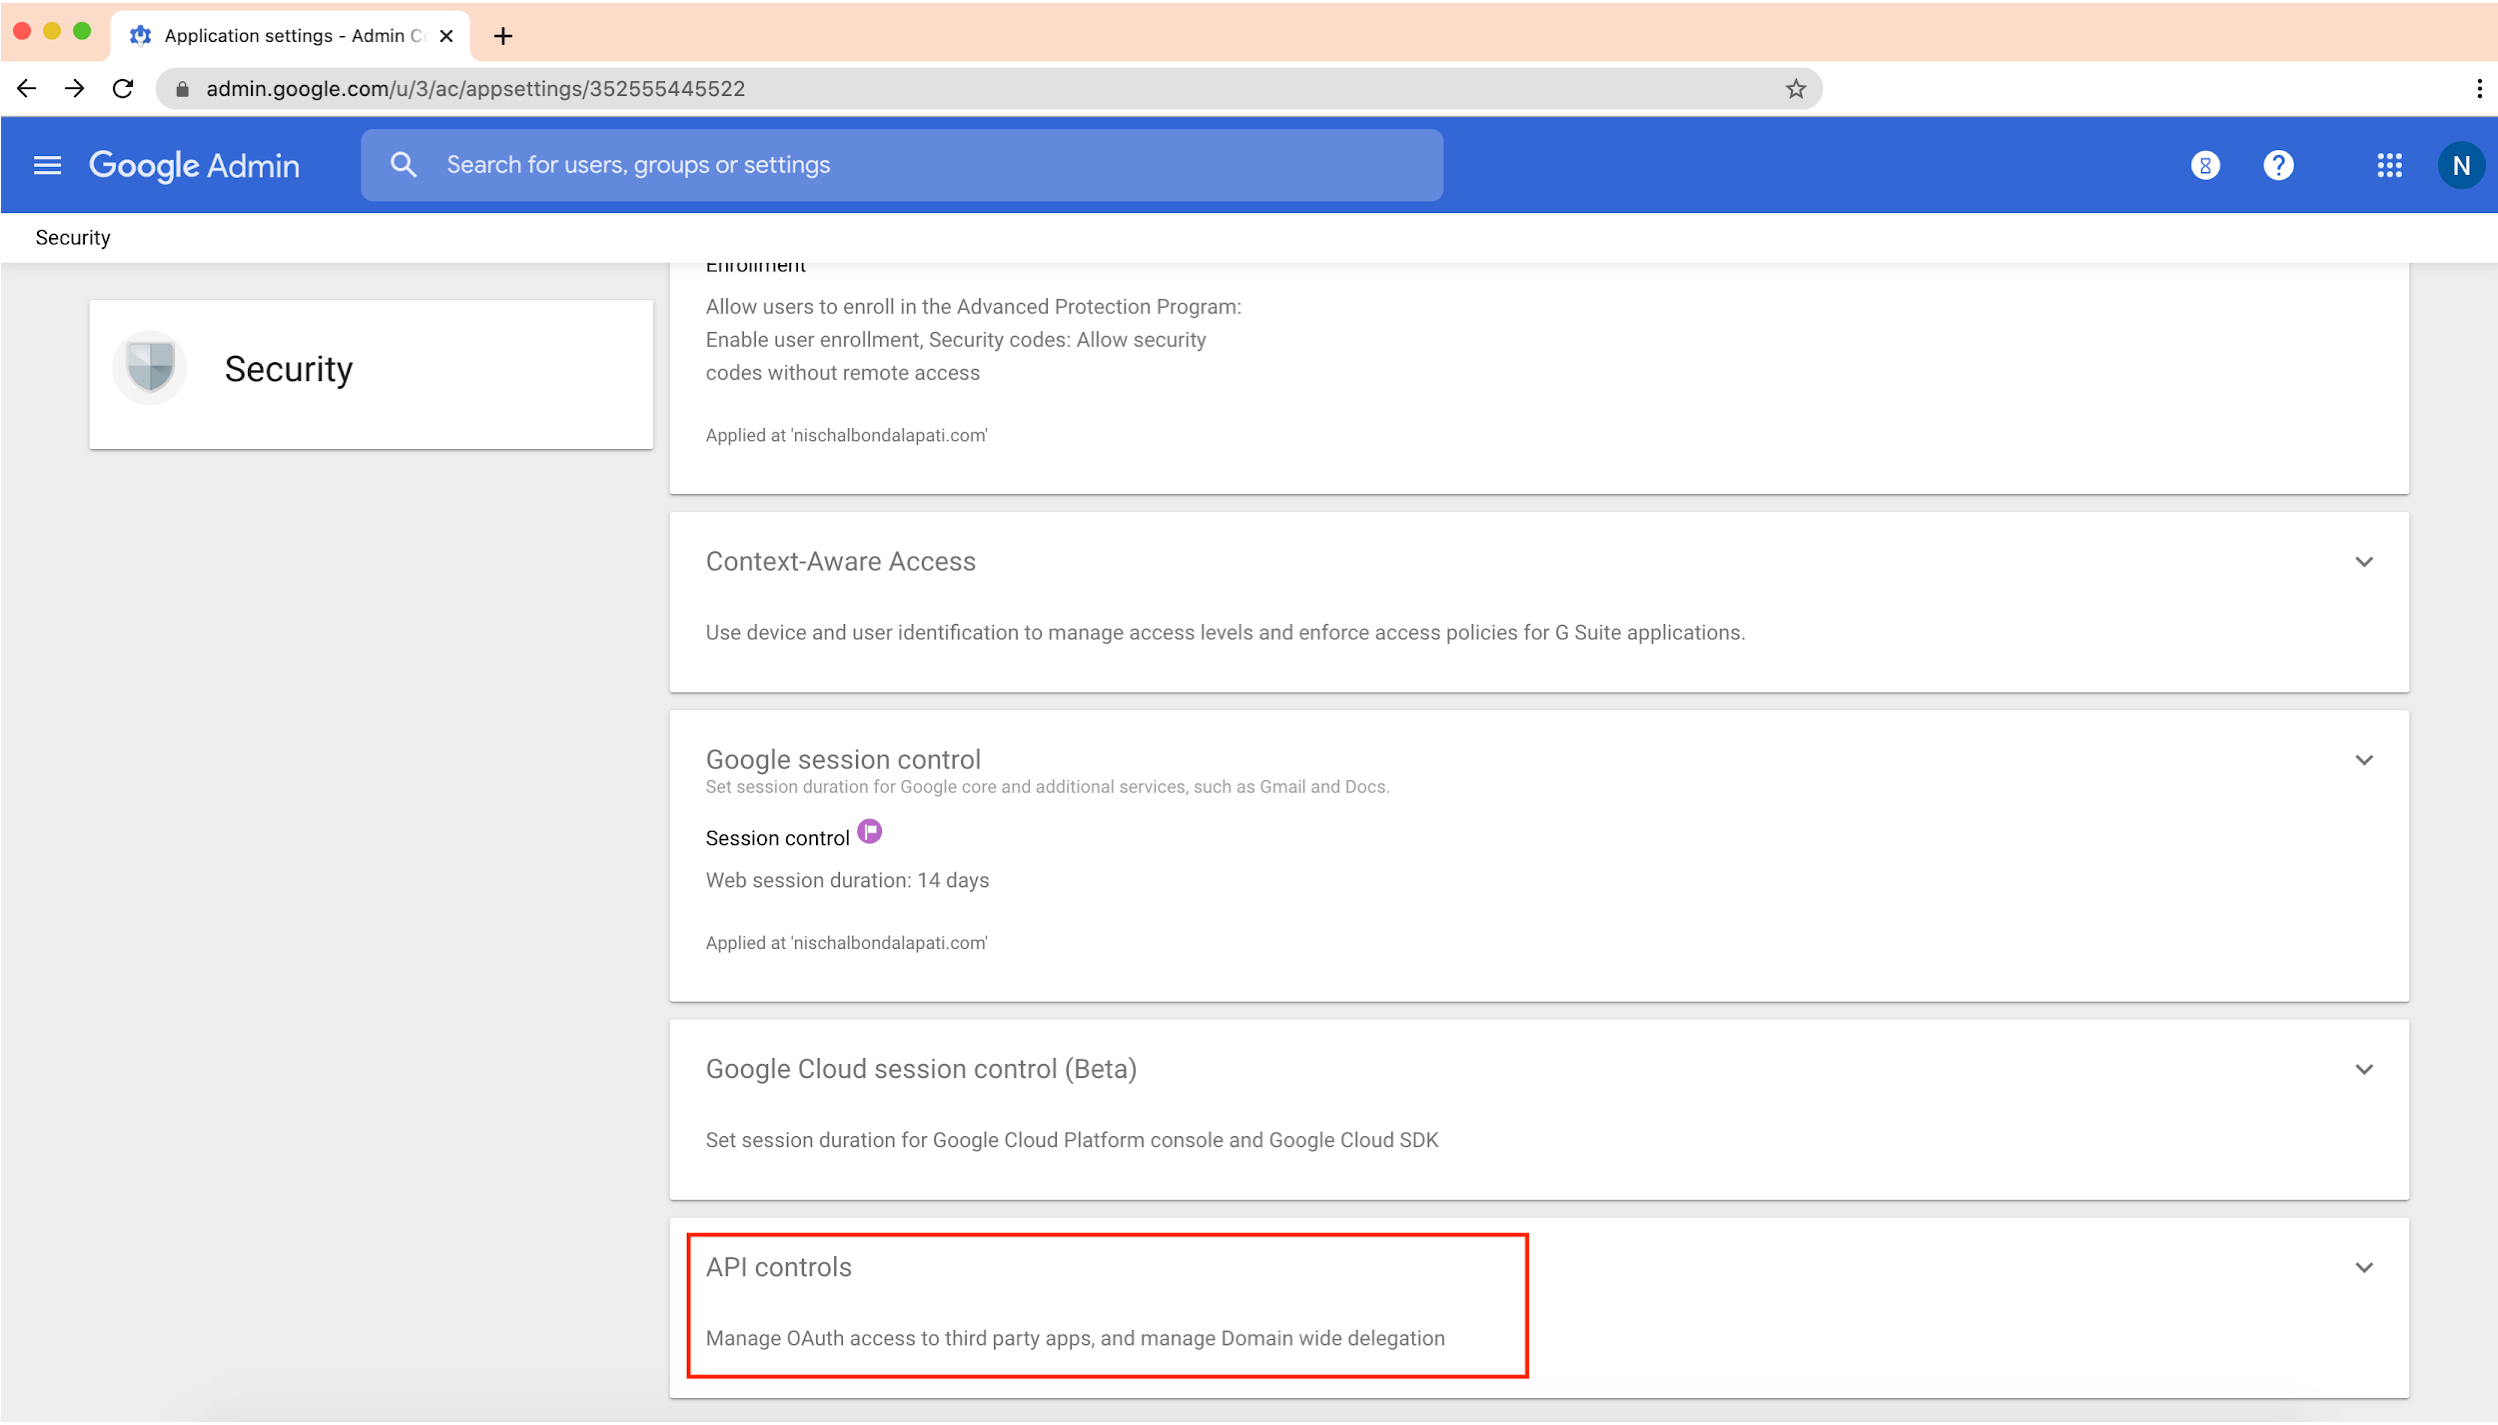
3. Click “API controls”
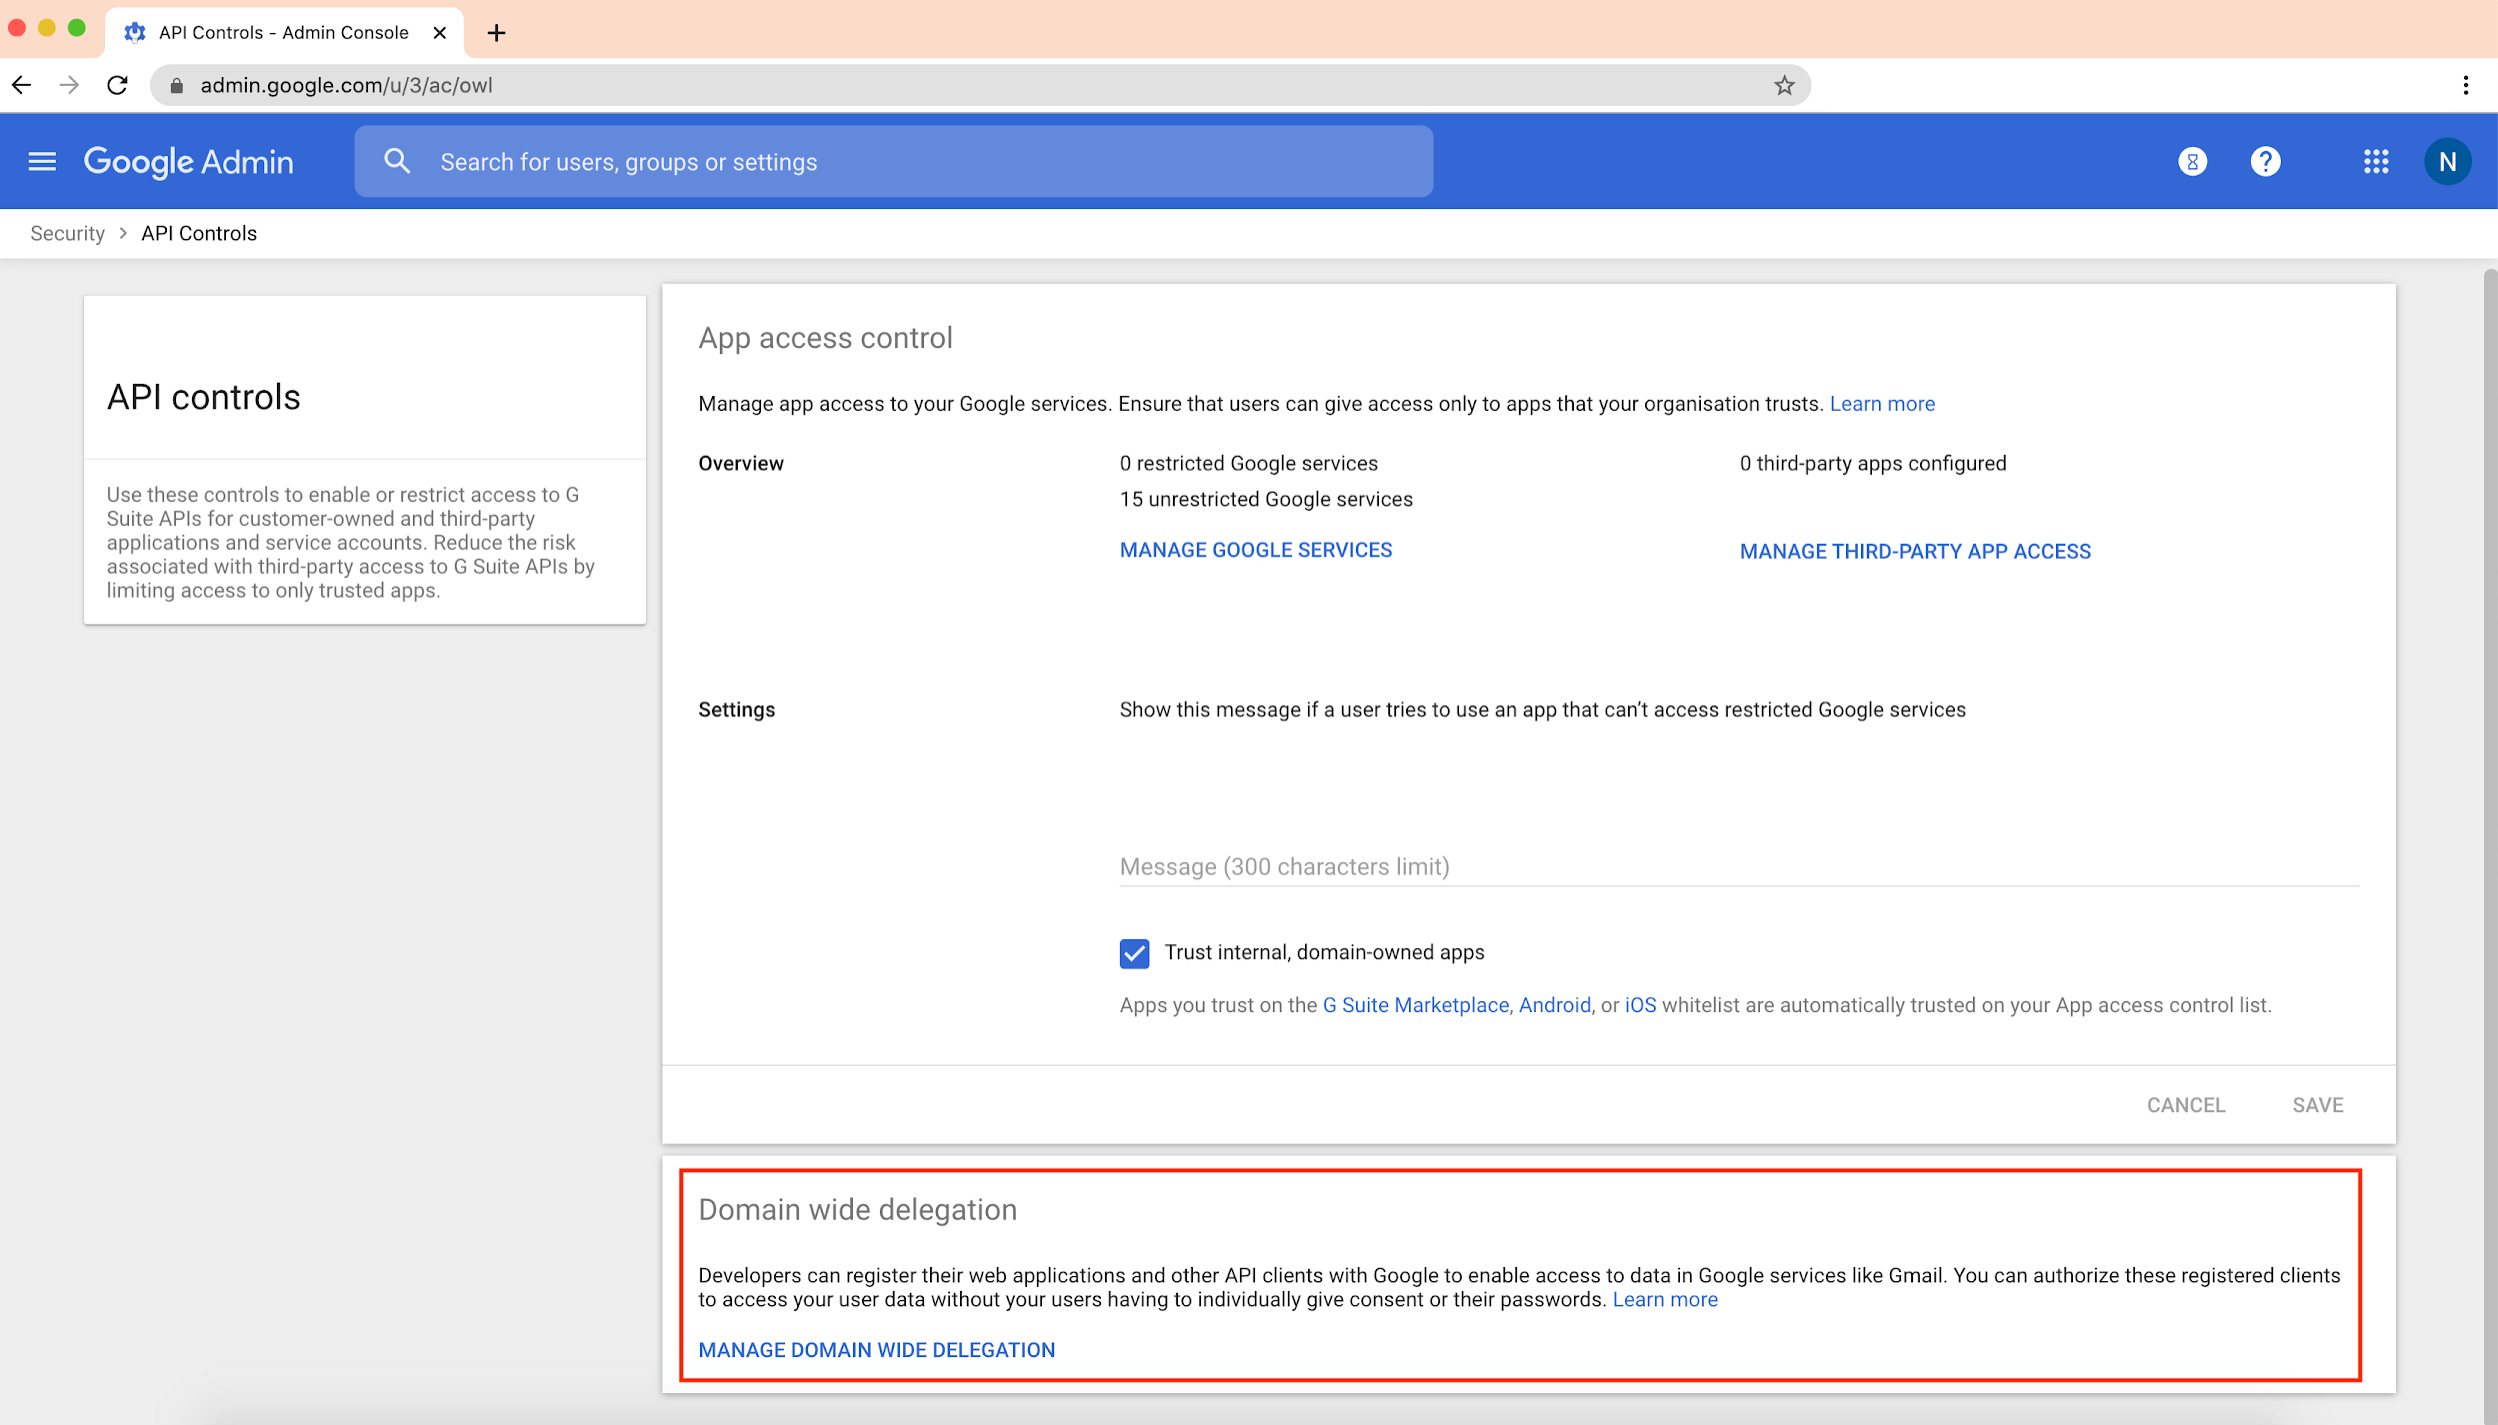
4. Under “Domain wide delegation” click “MANAGE DOMAIN WIDE DELEGATION”
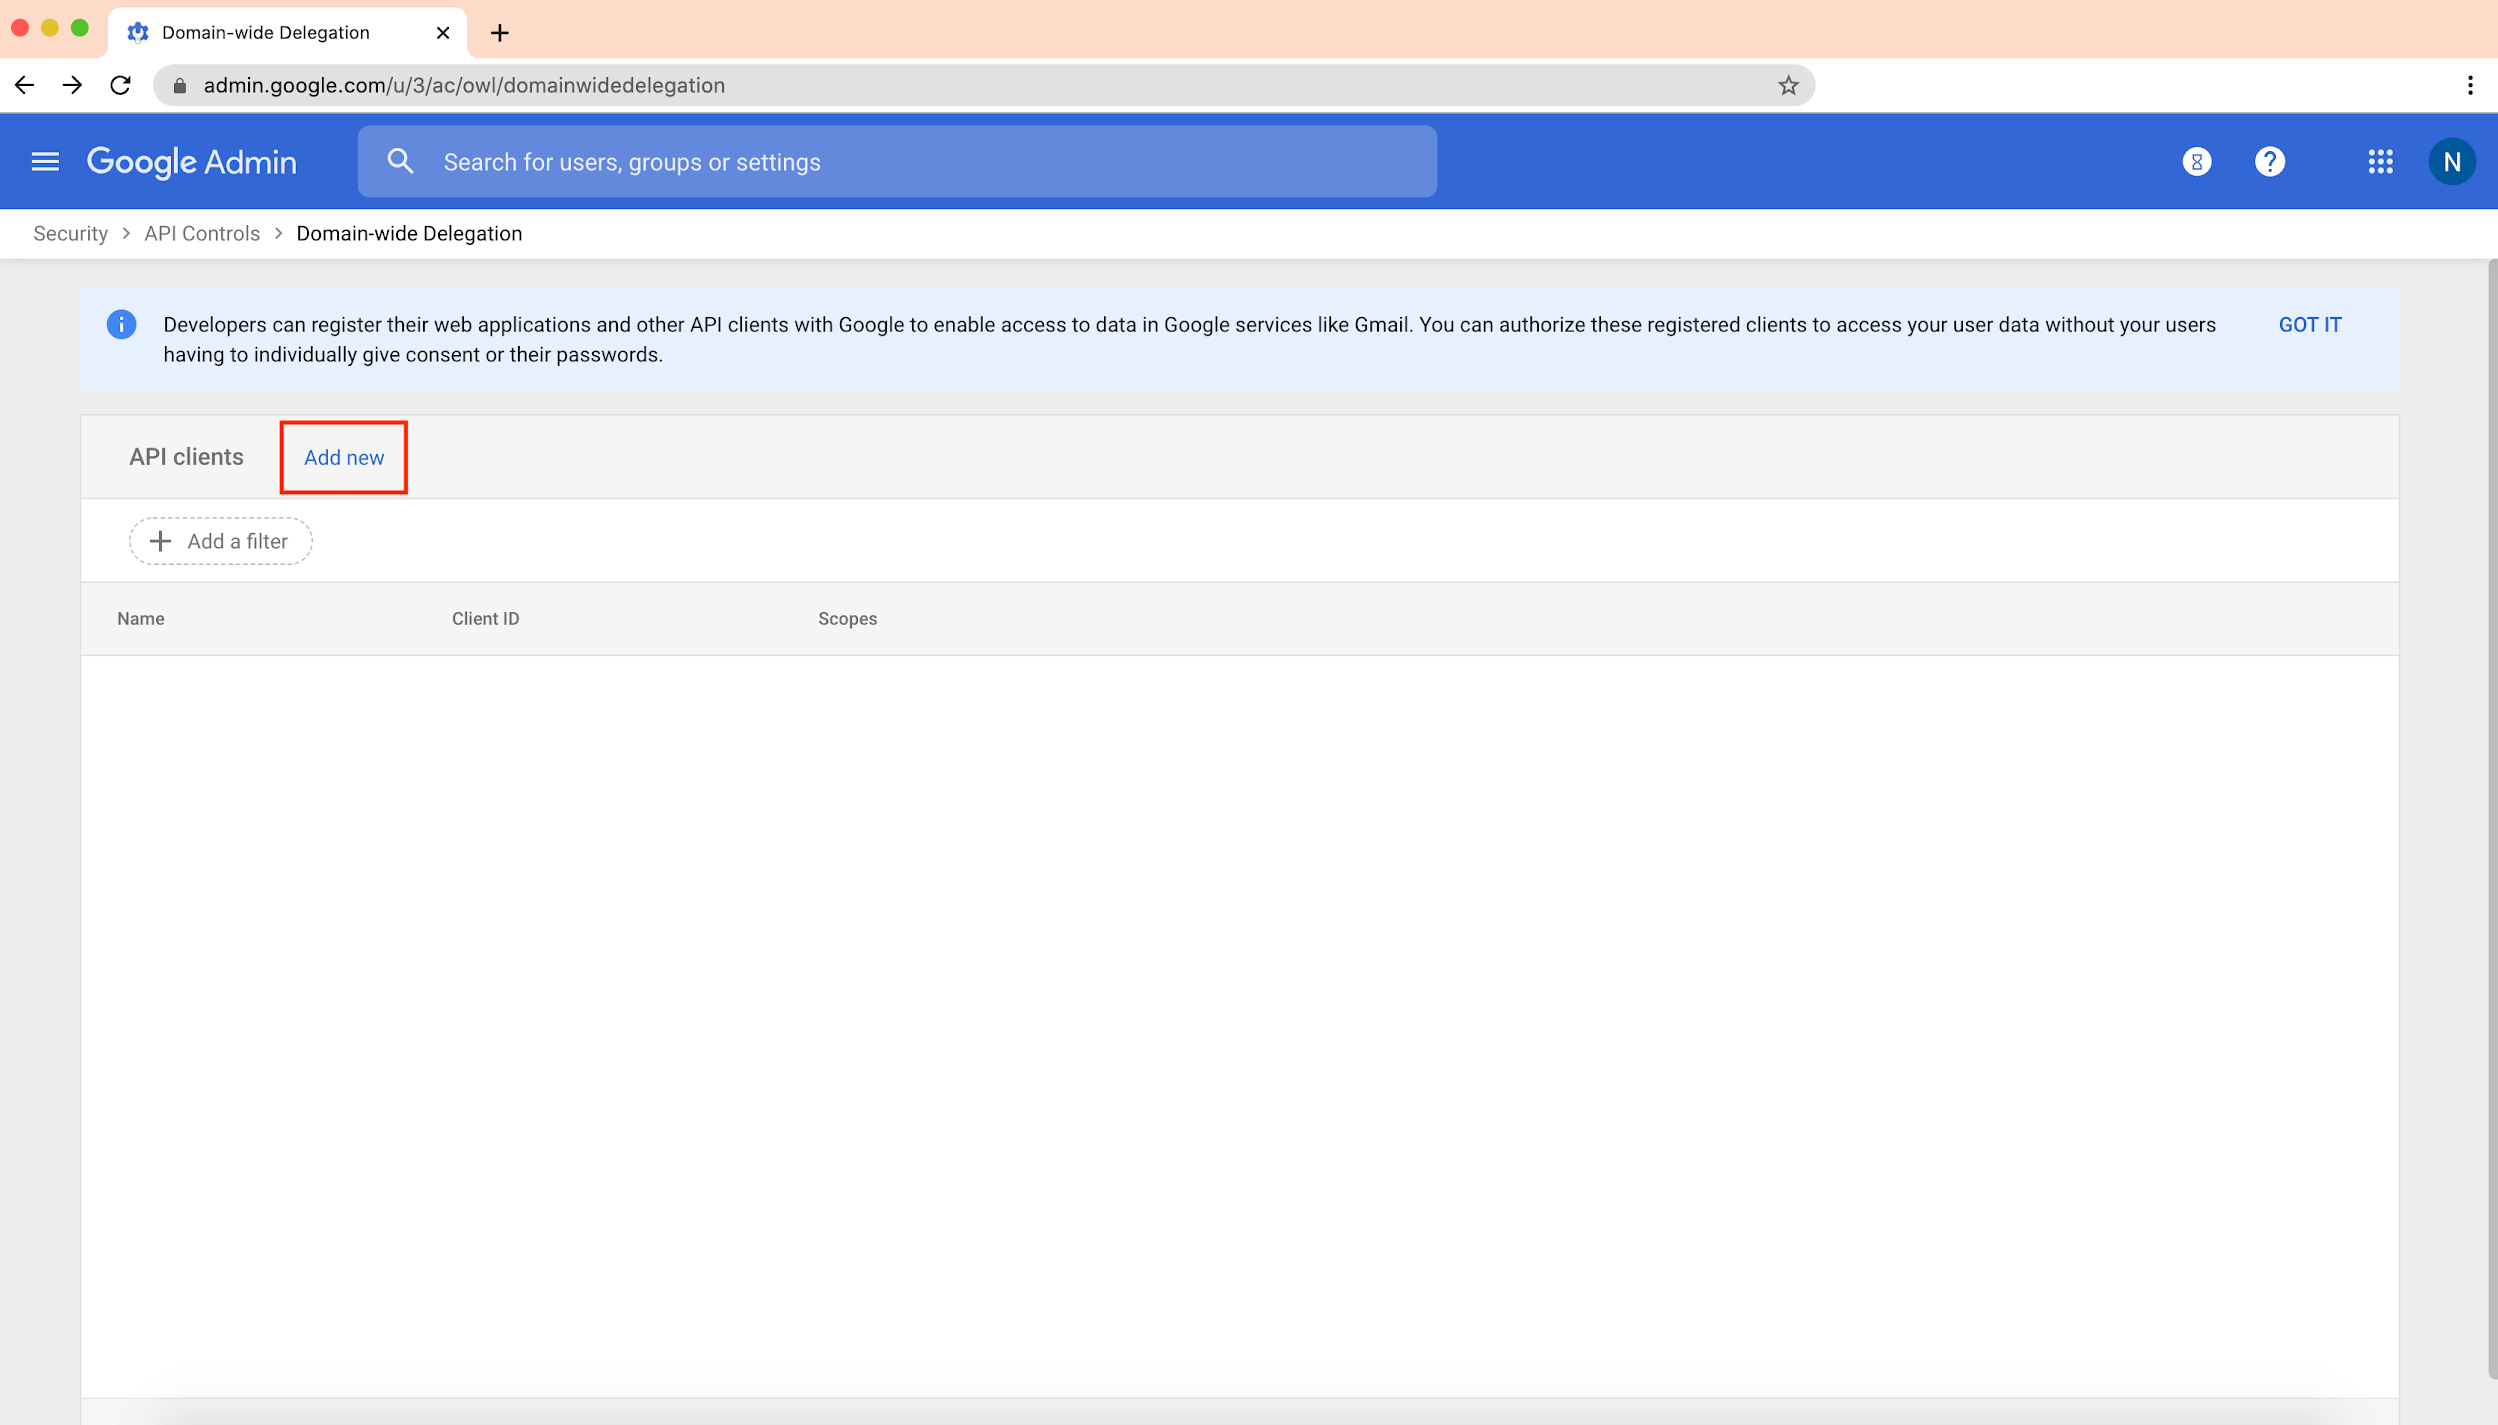
5. Click “Add New” and Enter the “Client ID” (shared below) and the scopes (shared below) into the “OAuth scopes (comma-delimited)” and click “AUTHORIZE”.
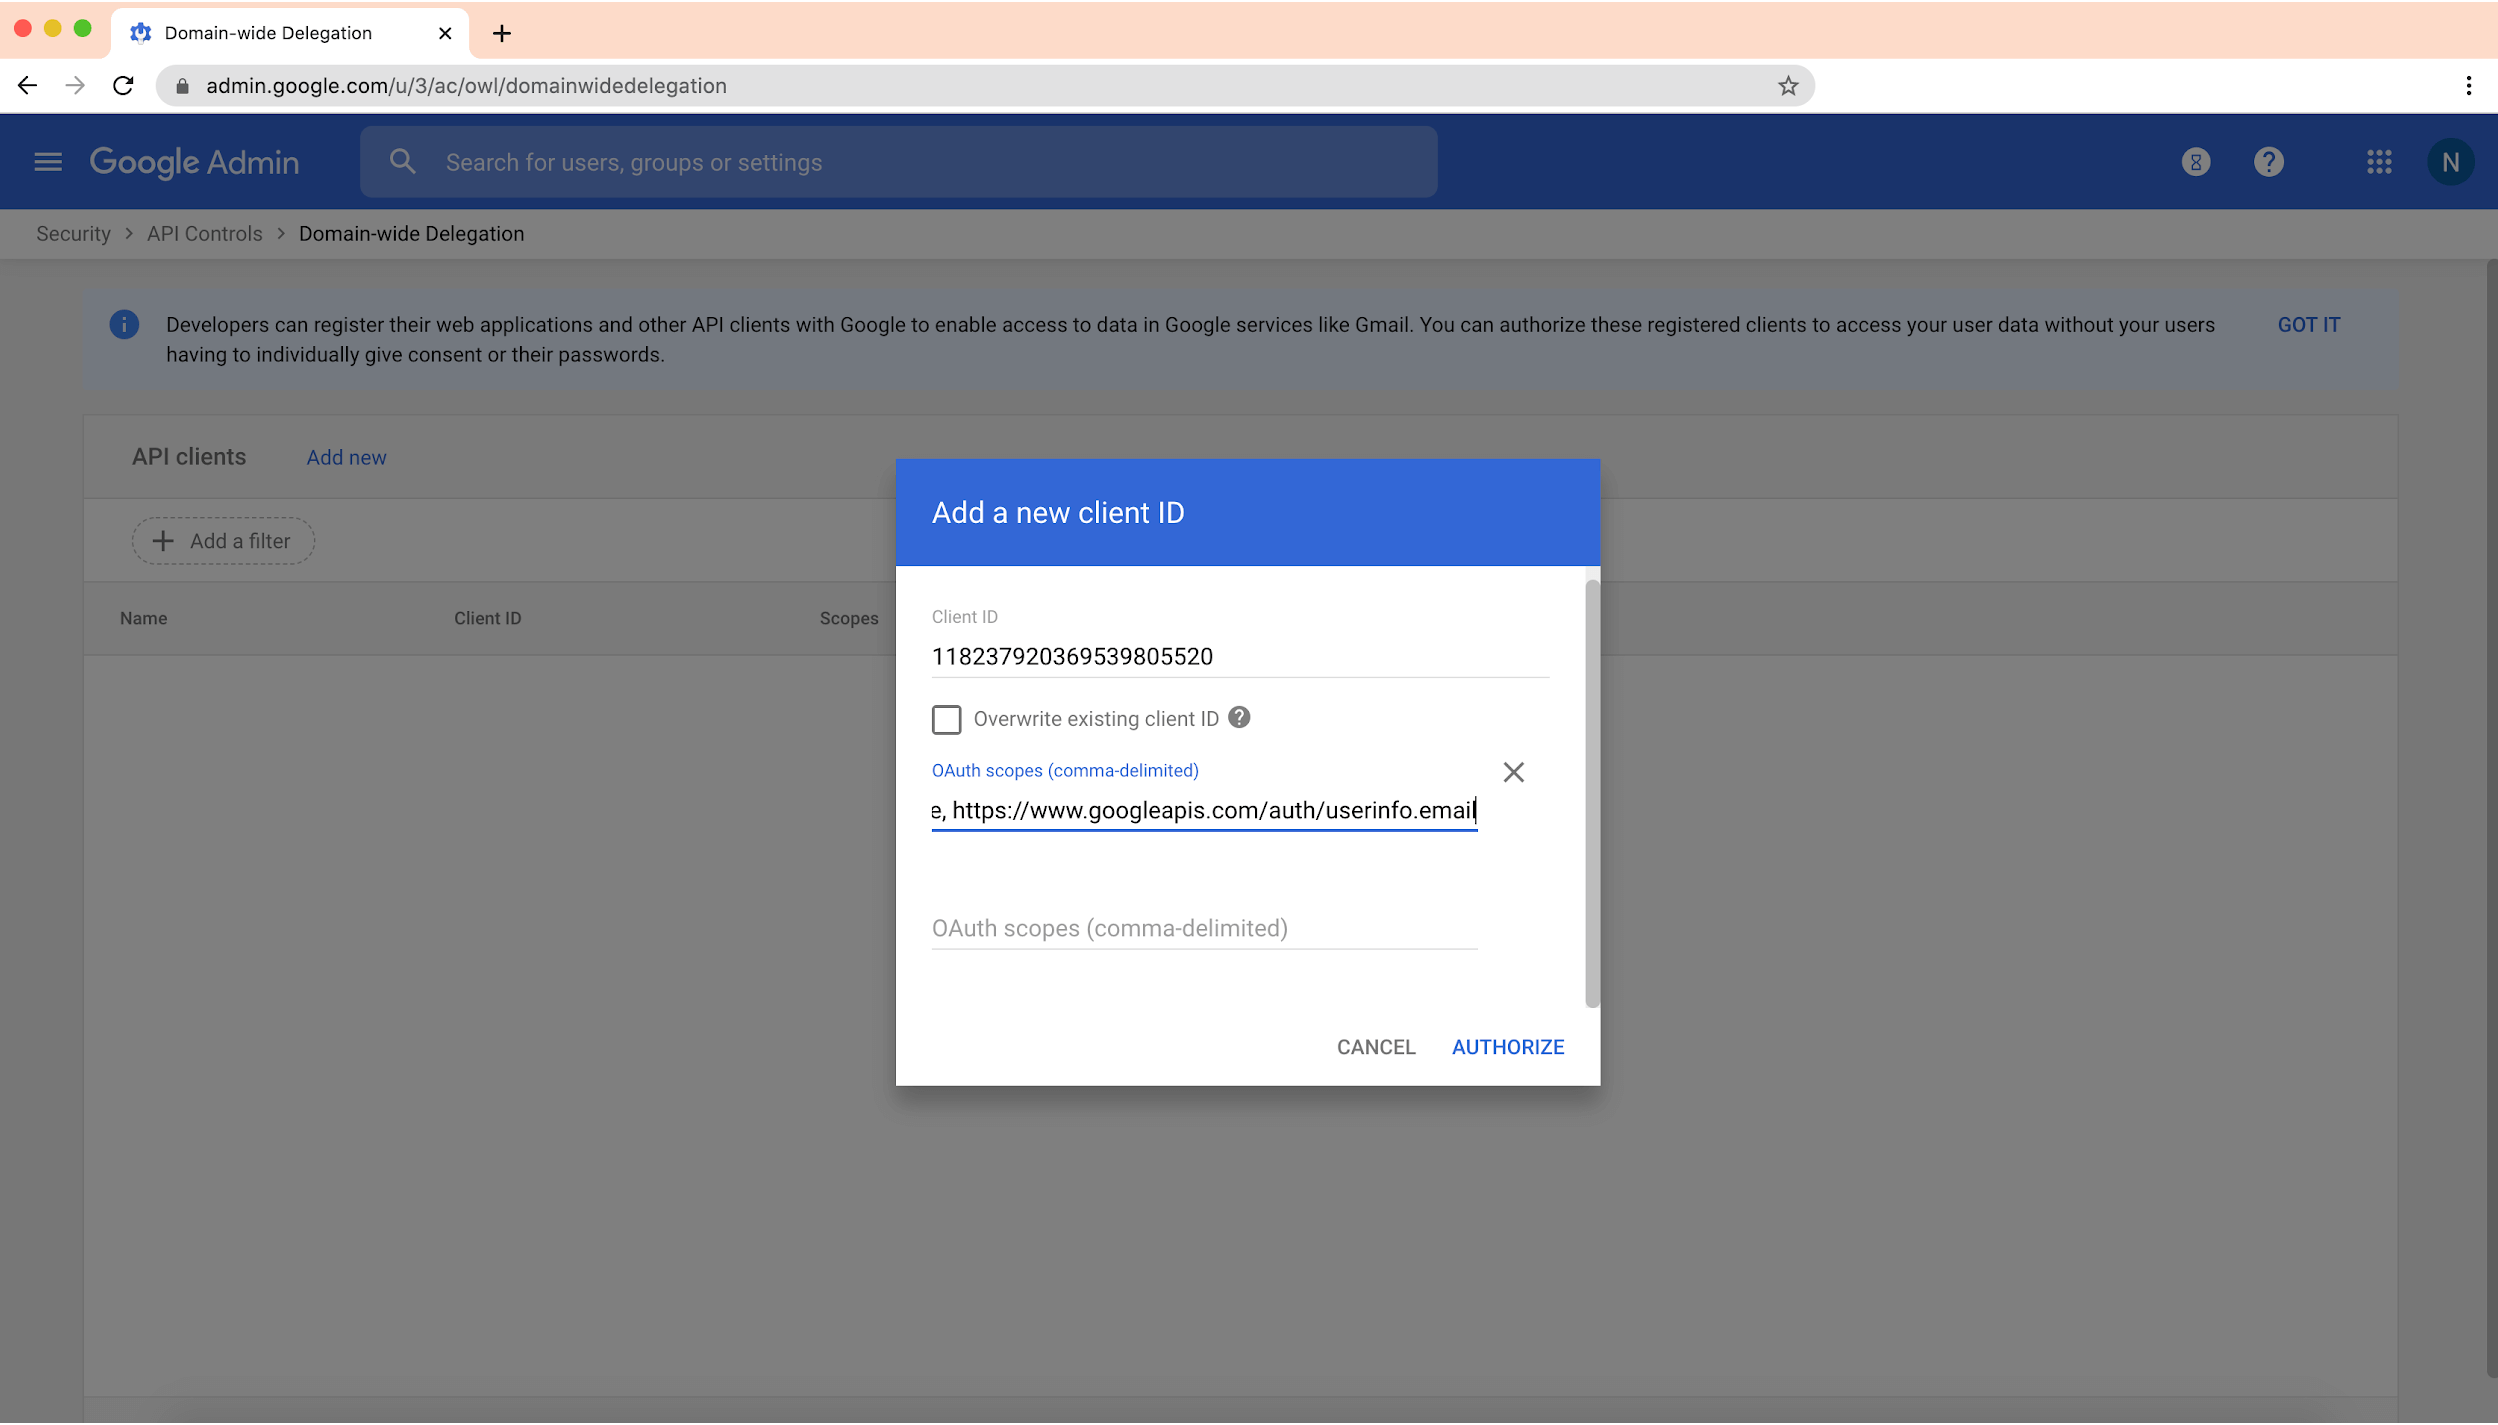
The Client ID is a 21-digit number and for the ZoomInfo InboxAI app, it is 118237920369539805520
The scopes required by ZoomInfo InboxAI are as follows and must be copied as-is into the scopes field (everything between the quote signs, with quote signs themselves excluded): “https://www.googleapis.com/auth/gmail.readonly, https://www.googleapis.com/auth/calendar.readonly, https://www.googleapis.com/auth/userinfo.profile, https://www.googleapis.com/auth/userinfo.email“
6. You should be able to see that the “Komiko” API Client has now been successfully added with 4 scopes.
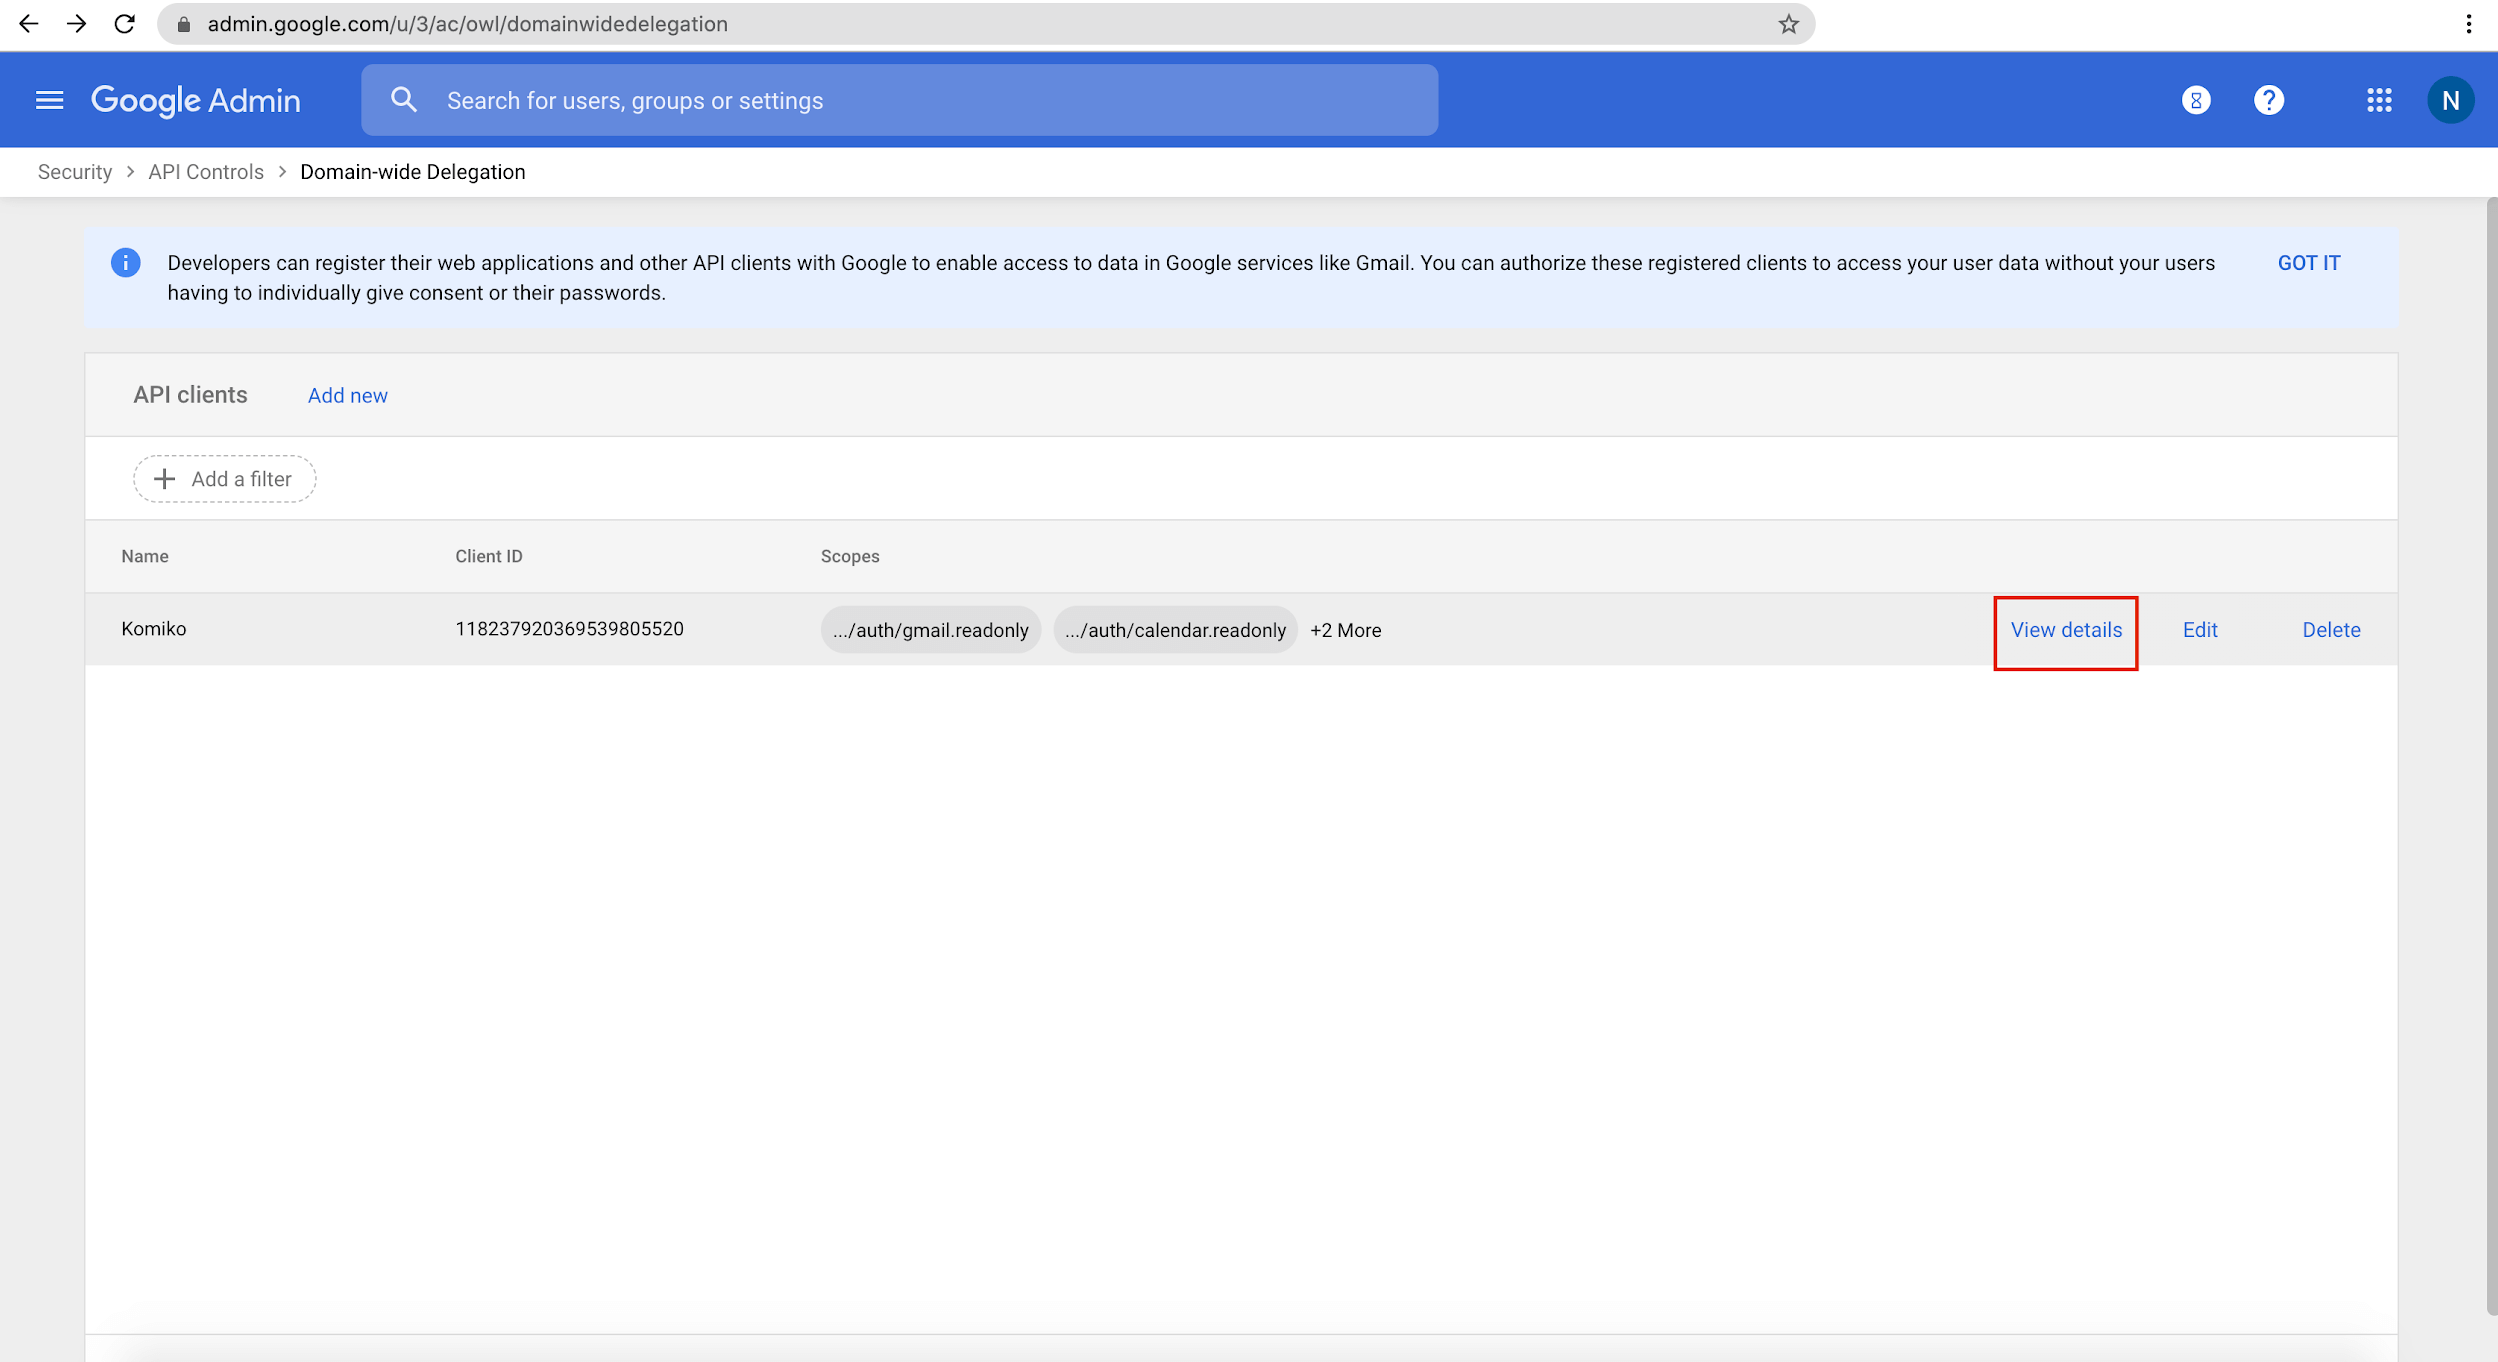
Note: If you click on “View details” for the “Komiko” API Client, you can clearly see all the 4 scopes that you just added as shown below:

Mission Accomplished!
Leave A Comment?