The following describes the way to add the ZoomInfo InboxAI (formerly Komiko’s) lightning component wrapped in a native Salesforce lightning Aura. Thanks to Oded Harniv for helping us put it together.
1. Add the code to Salesforce
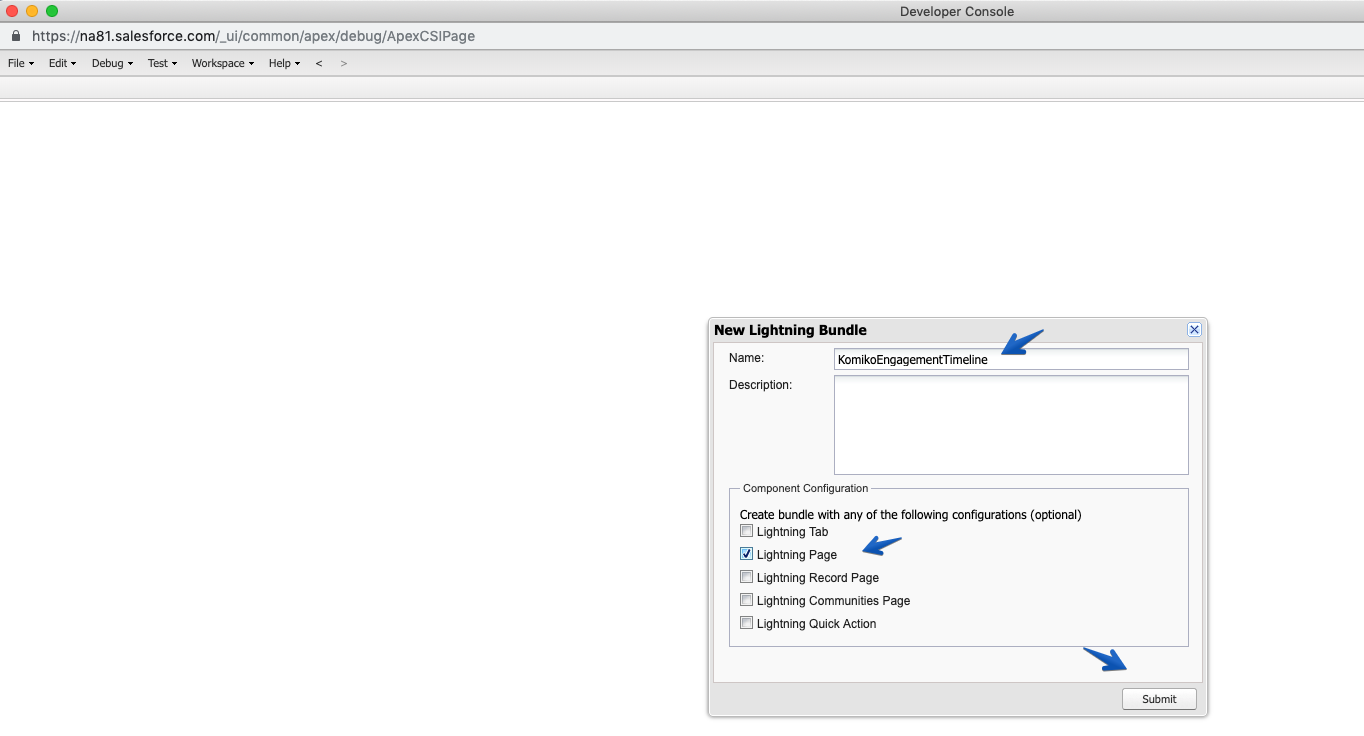
Start by navigating to Salesforce developer’s console. Click on Lightning component.

Give it a name and pick the lightning page option.
Navigate to the Component section.

Copy paste the following:
<!--
@Description: a Lighting Component for hosting an iframe for the Komiko Engagement Timeline. The component is generic and can be used on any record detail page.
-->
<aura:component implements="flexipage:availableForAllPageTypes,force:hasRecordId,force:hasSObjectName" access="global" >

<aura:attribute name="currentUser" type="User"/>
<aura:attribute name="params" type="String" />
<aura:attribute name="Label" type="String" />
<aura:attribute name="Height" type="String" />
<aura:attribute name="KomikoPath" type="String" />

<force:recordData
fields="Id, Email"
recordId="{!$SObjectType.CurrentUser.Id}"
targetFields="{!v.currentUser}"
mode="VIEW"/>

<div>
<form>
<div>
<!-- pass the object type, object id and running user email address to the Komiko api -->
<iframe style="border:none;" aura:id="getkomiko" name="getkomiko" src="{!'https://www.getkomiko.com/dashboard/'+ v.sObjectName +'/' + v.recordId + '/' + v.KomikoPath + '?embedded=true'+v.params}" height="{! v.Height + 'px'}" width="100%" scrolling="false" />
</div>
</form>
</div>
</aura:component>
Navigate to the Design section and
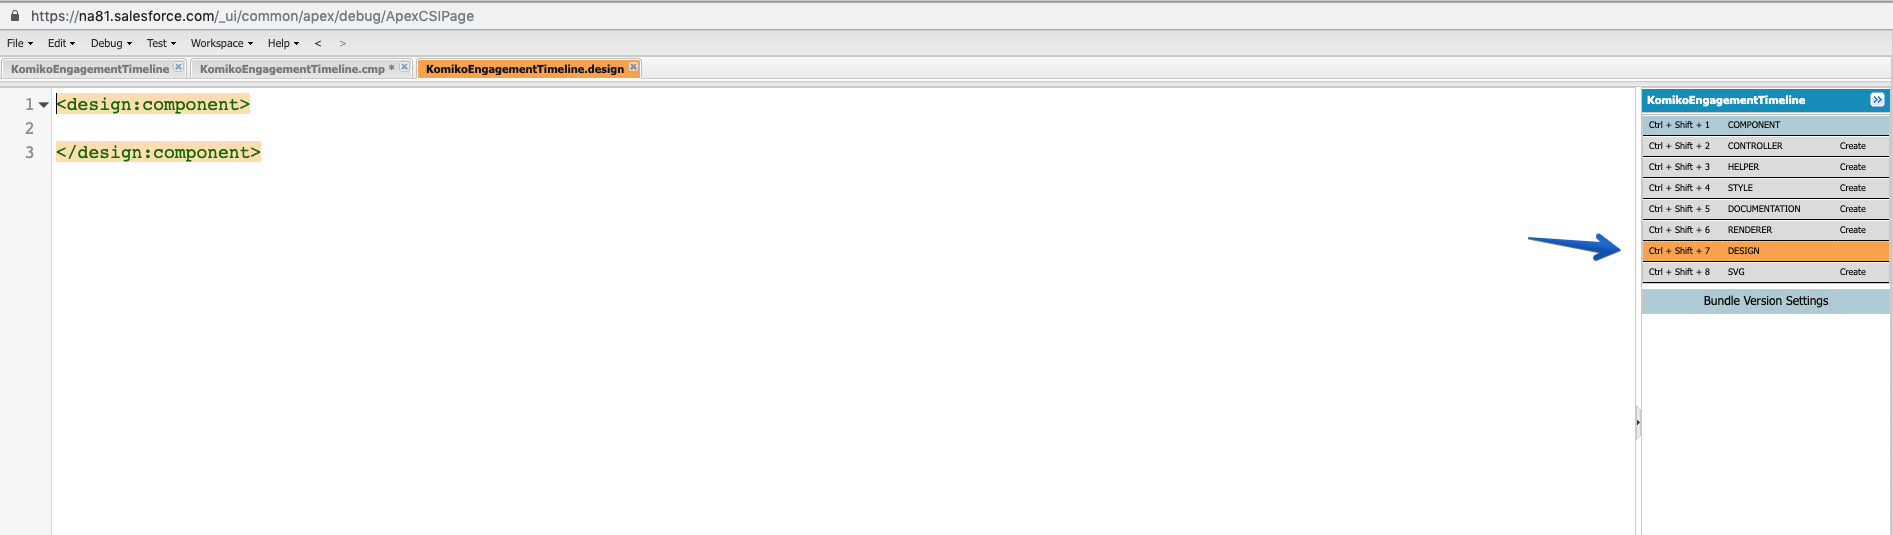
And copy paste the following:
<design:component>
    <design:attribute name="Label" label="Section Label" />
    <design:attribute name="Height" label="iFrame Height in pixels" />
    <design:attribute name="KomikoPath" label="The specific Komiko Service to include in the path" datasource="timeline,external/activitycharts, external/timeline"/>
</design:component>
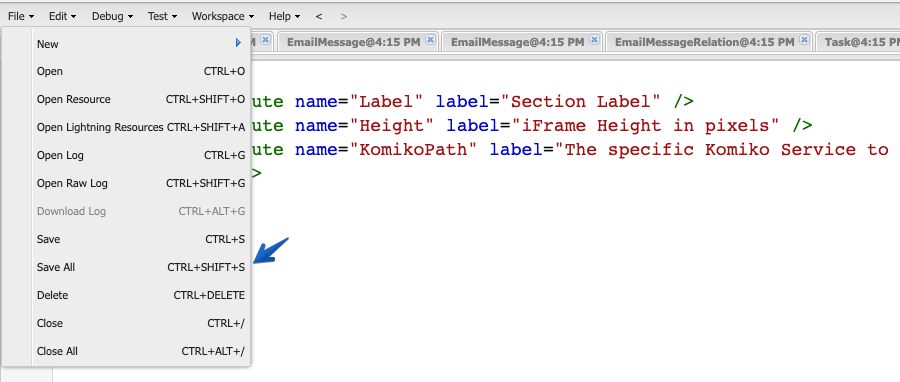
Save all and exit the developer console.
Done with the first part.
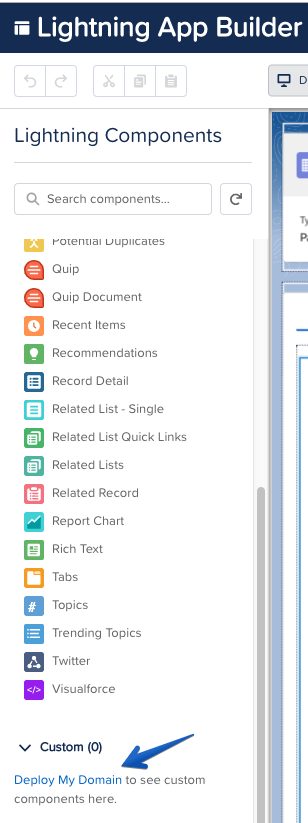
2. Deploy my domain – one time for your Salesforce instance – in case that you haven’t done it, yet
To enable custom lightning component it is mandatory to deploy my domain. For more info refer to. You can find this option when you navigate to Edit my page. And then scroll to the bottom of the Lightning Components list.
3. Add the Lightning component to the relevant pages
Navigate to the account page. Same applies for any other page that you’d like to add it.
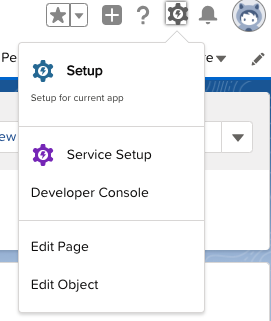
Edit page
Add a new tab to the page as follows.

Navigate to the newly created tab, and drag the newly created Lightning component over.
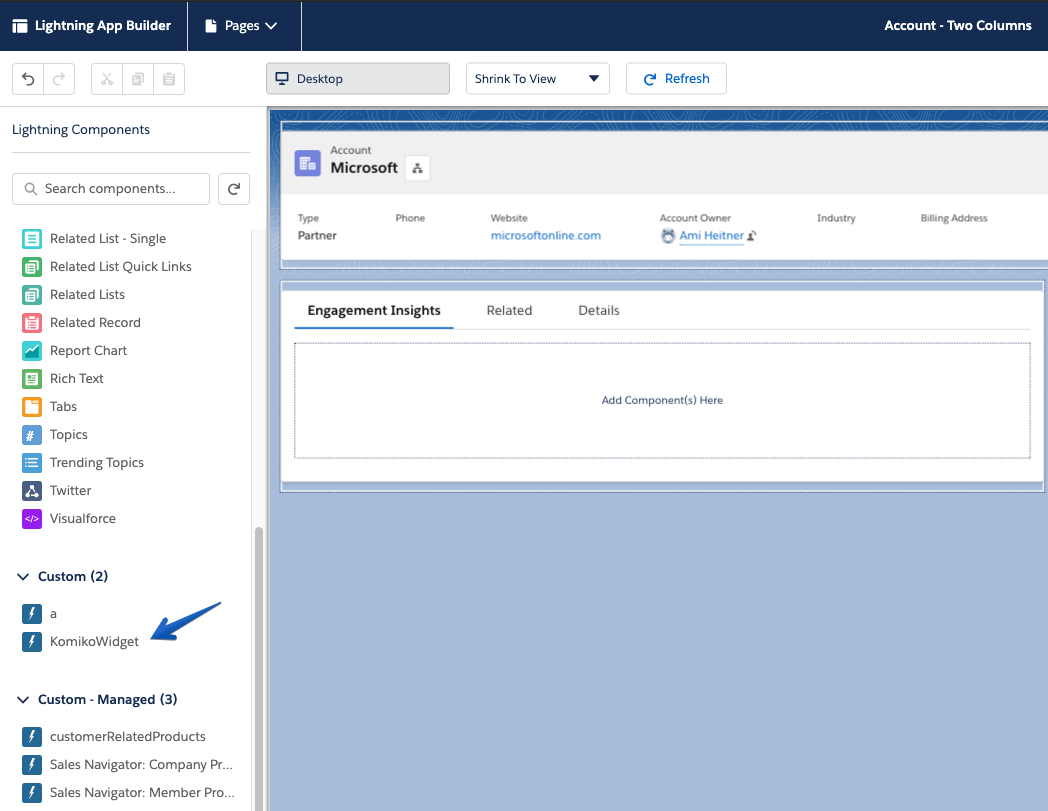
Last step – Change the iFrame Height to 650 and select external/activitycharts. When using it for Contacts or Leads, pick the Timeline option which will not include the left pane interaction chart. You can also choose external/timeline to show timeline only (without the engagement chart) on Account or Opportunity pages.
You can also place it at the right pane replacing the Salesforce activities pane.

Leave A Comment?